Welding output range
Compare process windows for sheet metal repair, fixture work, pipe tack, and general fabrication.
Engineering Dashboard
This technical workspace brings together chart cards, downloadable specification notes, qualification milestones, and an inquiry route for welding process review.
It is designed for engineers, supervisors, and maintenance planners who need a defensible comparison before a machine, lens, wheel, or consumable is approved for production use.
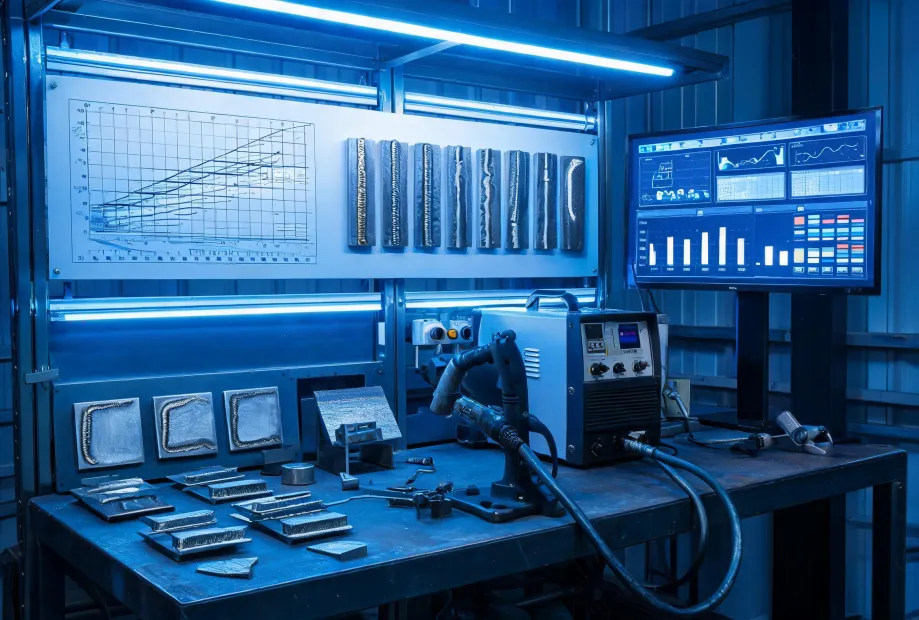
Data Dashboard
Each metric turns a shop-floor variable into a review point: output range, thermal rhythm, abrasive preparation, and PPE visibility. Miller uses these reference points to reduce guesswork when multiple processes or operators share the same equipment pool.
Compare process windows for sheet metal repair, fixture work, pipe tack, and general fabrication.
Use work rhythm and thermal limits to prevent undersized power-source decisions.
Cutting, weld removal, and finishing paths are separated to reduce unsafe wheel substitution.
Shade, lens speed, shell coverage, and operator posture are reviewed together.
Engineering Papers
Input power, wire diameter, duty cycle, gas, torch configuration, and fixture context.
Request PDFWheel type, thickness, RPM rating, storage condition, and intended removal profile.
Request PDFShade range, reaction time, grind mode use, viewing area, and operator comfort notes.
Request PDFQualification Timeline
Capture material, joint, expected bead length, abrasive task, work location, and operator PPE constraints.
Compare welding output, consumables, shielding, wheel choice, and service availability against the work profile.
Run a short equipment and abrasive trial with notes on heat, finish, visibility, and operator feedback.
Register models, service contacts, replacement parts, and support notes before the equipment enters routine use.
Bring the weld schedule, material, and abrasive task. Miller will prepare a focused comparison for the equipment route.
Request Engineering Review